Showing posts with label DIY. Show all posts

Rain Gutter Bookshelves

You know how blog surfing works, you end up in places and you have no idea how you got there.  Usually I see a lot of stuff I like, but this one, I HAD to make!  I had been looking for great shelves for a while.  I actually bought some from Pottery Barn, but only 2, I didn't want to fork over $300 for 6!  So when I saw this, it was just perfect!!

I measured the wall I was going to put them on and went to Lowe's and bought the pieces and end caps.  And boy did I get a funny look when I told the guy who asked if I needed a cart that I only needed a few pieces they were for bookshelves, ha!  Doesn't he know that I frequent hardware stores, but all for craft reasons?!

I measured, sawed, and screwed for the next hour and then I had a wall of books that I just LOVE!


Camera Strap Cover

I have been in LOVE with camera strap covers ever since the first time I saw one and even more so since I got my DSLR!

I have been eyeballing some over at SheyB, but I already had all the materials so I knew I had to give it a try.  Anyone that knows me, knows that the pink damask has my name all over it! (wink) and the fuzzy fabric is acutally from my daughters crib bumper that I made for her.  Now that she's in a big girl bed, I saved the fabric knowing I'd use it for something. 

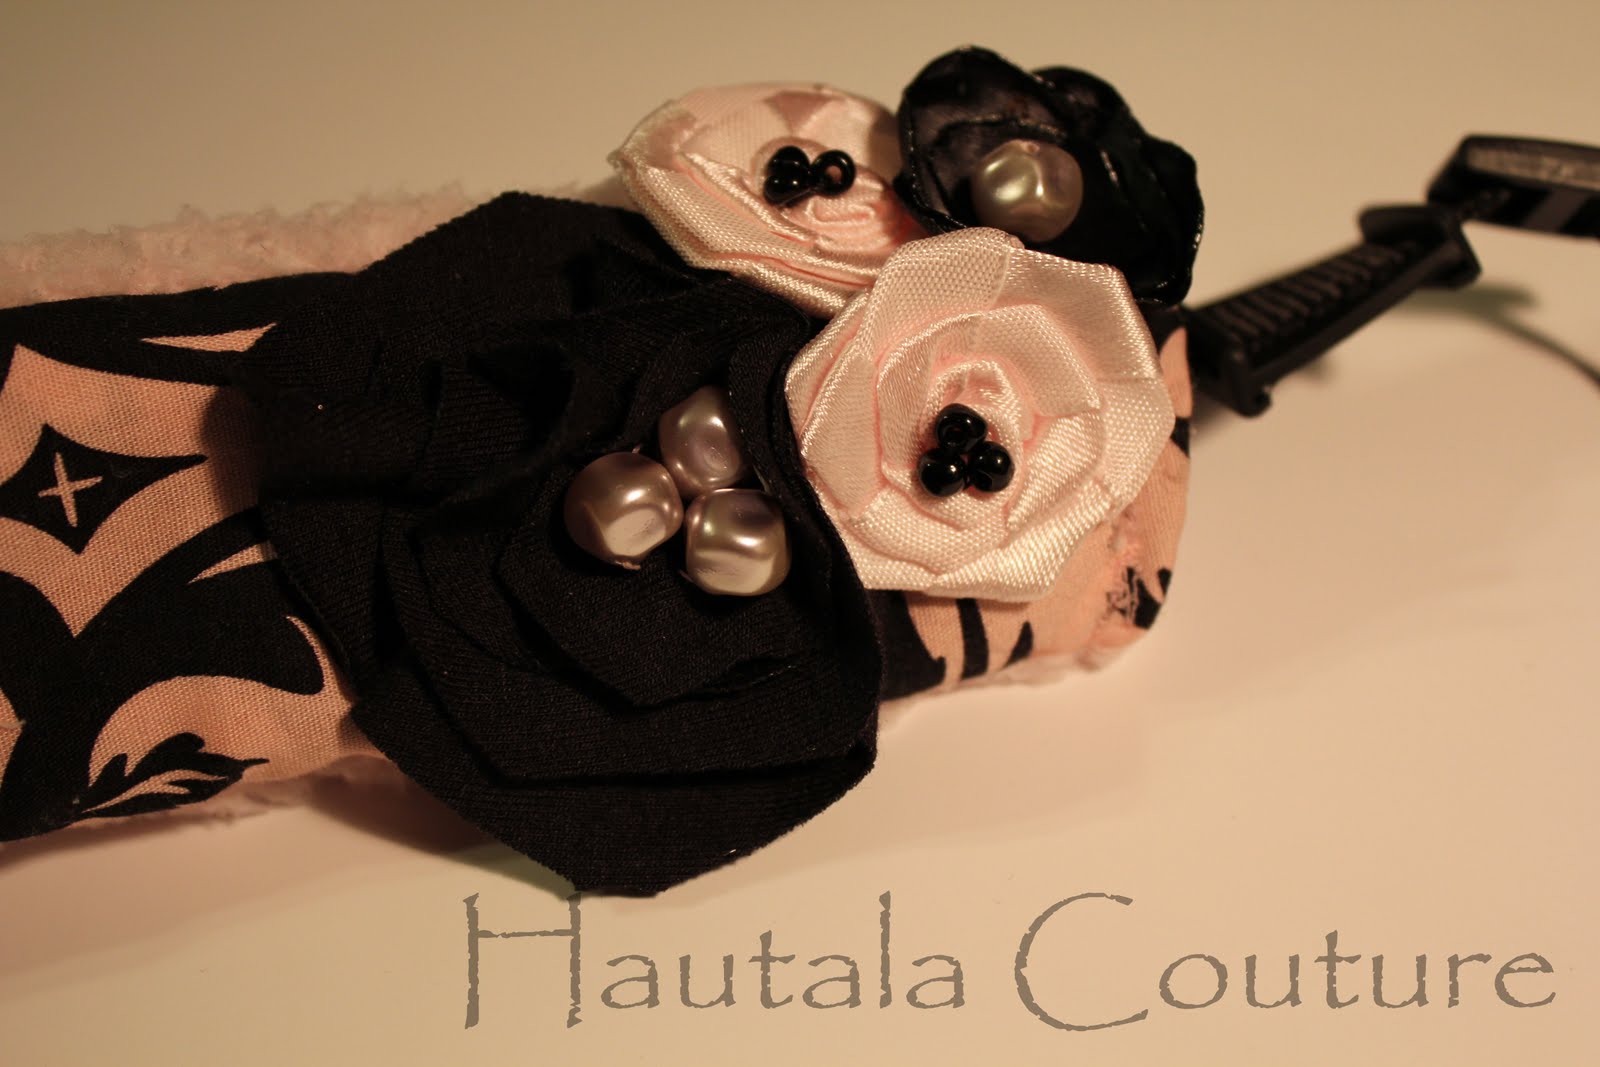
And of course I didn't take any pictures while I was making it (I NEVER do, and regret it later when blogging) but here is the completed picture:


I really didn't plan on adding any embellishments, but it was too "naked" just as a cover.  So I rummaged through more of my stuff and came up with more fabirc, satin (for flowers) and beads.  I kinda added as I went along, because it was lopsided, and I am actually really happy with the way it tunrned out.


I have seen cute pockets for the lens cap, but because I didnt sew it into the seams, I didn't know how to add it on.  I wanted to embroider my initials or name or something, but just didn't like it at all.  So I sewed on elastic straps so that I could store the lens cover when I'm not using it, because I tend to lay it down somewhere and forget where that somewhere is...

I added a tag to "pretty up" the elastic and another fabric flower with a few beads.


I am so happy with it, probably because it damask and pink and black - LOVE!!!


I am so happy I finally have this, HOWEVER, I hated doing this project, and will probably never do it again!  I am happy that I didn't invest any money in it and had all the stuff already!!

Easter Egg Garland

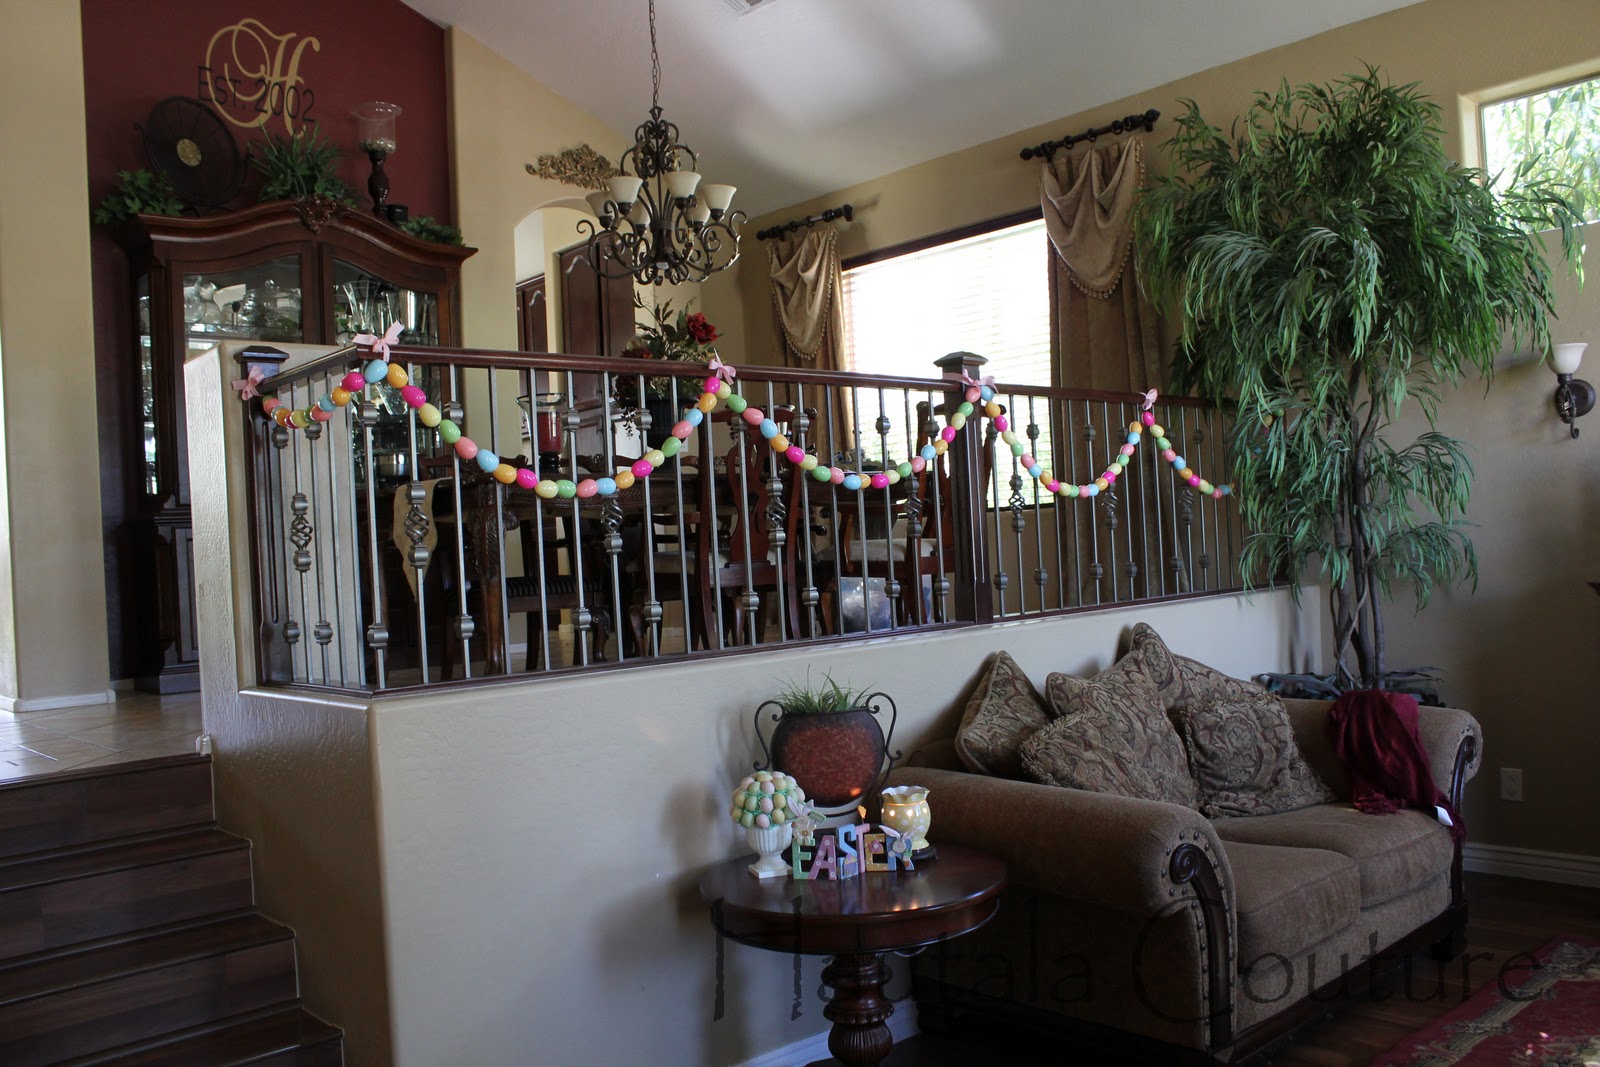
Last year Marni posted this link, and I made my right away, but forgot to take pictures before I took it down.  Well I finally got it back up last night, and couldn't wait to share with you all!

This is a super easy and super cheap project, you can do yourself, or with your kids!


Here is a close up, all the eggs come with holes already, so all you have to do is string them together!


 Here is a view from the front door, um, can you tell that I like to decorate for holidays?


Sweetheart Conversation Candies Topiary

I LOVE topiaries and could have them all over, and as much as I have seen the rose one and love them, I wanted something a little different....

Take a styrophoam ball, paint it a base color, because all of your hearts will not touch and you will need a color to hide the white.


Make sure you have a lot of candies, I did one ball and decided to add another, but only after I gave all my leftovers to the kids.  I had to wait to finish the project after I made a run to the store to get more, only to find out when I got home that they are thicker than the rest... Oh well, you can't see the back and most probably wouldn't notice anyway, but I do!


Glue, glue and glue some more!

I found that doing 2-3 at the most worked so that the glue didn't dry too fast.

Add some filling in the bottom and glue the stick in place, add decorative paper and you are done!! 


(I had to make sure I had it high, so that little fingers aren't tempted to nibble on any)

Valentines Day Banner

I have seen all these ADORABLE Valentines banners all over, and just had to make one for myself!!

SO I dug through my paper drawer and came across old work cards (that I knew I woud use someday) and sliced and diced

 Next, I dug through the scrapbook paper that I had on hand, and came up with these... I guess I could hace made a trip to Jo-Anns, but I didn't want to spend the money and I also wanted the banner done, um, NOW!


I cut the edges to add some interest to each piece and layered them and added some flowers and bling, afterall, who doesn't like bling?!

Then I measured how big I wanted the letters and cut them out in vinyl...


Tied each card together with ribbon, and added a bit between to jazz it up a bit, and then hung it up!


Pumpkin Topiaries

I am in love with topiaries, if I could, I would have them all over the house, but I know less is more.

I have seen a couple of pumpkin topiaries online and decided to give it a try myself.

First I started with pumpkins, on sale and then had an extra 15% off coupon on top of that (yay!).


I cut holes through the top and bottom of the larger two and just the bottom of the smallest one.  I used a drywall knife, it worked pretty good.  However, whenever you are cutting styrofoam it's really messy.  So I had my vacuum right next to me, before anyone ate it, or I should say my dog!

Next I found a scrap piece of pvc pipe in the garage and measured the height in the pots that I wanted them in and cut it down.

Then I put the pumpkins on and spaced them apart evenly.  I added a little gorilla glue to keep them set on the pipe.


I used some left over fall vine and cut it down to 4 peices and wrapped it around the pvc pipe in between the pumpkins to hide the pipe.  I also dabbed a little glue there too, to keep it in place. 

Once it was all dry, I took them outside and used (a ton) of newspapers to keep it standing in the pot.  If I had actually planted something in them I would have dirt, but because its a west facing house and the sun is killer in AZ, everything just dies, so I stick to plastic plants to look nice and last a little longer.

And here is the finished product!


 (yes, I know you can't see the left one, we are doing a major trim on the yard this weekend)

Ballard Designs Desk - Knockoff

Ever since I got the first issue of Ballard Designs, I fell in love, boy I wish I could buy the whole magazine sometimes, but then I know I would be running out of spaces to redecorate.

But I knew I had to have this desk the first time I saw it in the catalog.


BUT, a whopping $3000.00!!!  was WAY out of my price range.  I knew I had to have it though, so the wheels in my head started turning and turning....

I measured the space of the wall that I was going to put it up against and the tall bookshelves/filecabinets that I already had.  I surfed online for countless hours (ahem, days) to find the prefect bookcases for the desk part (and they were still too light)

BUT

it all worked out in the end.

Here is my version of the desk, and to my surprise, it doesn't bother me that the wood colors aren't an exact match.  To be honest, I can hardly tell, I think once I stacked up the photo boxes, it hid a lot of the obvious.